Throughout history wine was considered "The Drink of the Gods". You'd be hard-pressed to find a person anywhere that isn't familiar with wine and wouldn't enjoy a glass as you spoke with them. The soldiers of the Roman Empire considered it food, and drank it instead of water because it was a safer way to hydrate.
It's widely known by real estate agents and experts that a wine cellar increases the value of your home. Wine isn't just a drink, but is often a way to connect with friends and loved ones making a wine cellar a perfect place to entertain. Hosting social events in your cellar gives an aesthetic value but not necessarily a monetary one. Collecting wine however can quickly become a way to invest, and that's a big reason why having a wine cellar often makes your home more valuable.
In order to invest in wine you'll need a place to store it. Hearty Bordeaux and Burgundy wines are the most commonly collectible wines. This is because the grapes used in Bordeaux take many years to peak. You can drink them young but won't get the best experience until they reach full maturity. That can take as long as 15-30 years. Keeping the wine in it's best possible storage condition is the only way to get maximum value. This is called provenance.
There are 3 key characteristics to achieve the best in provenance for fine wine:
Darkness
Temperature control
Keeping the bottles flat on their sides
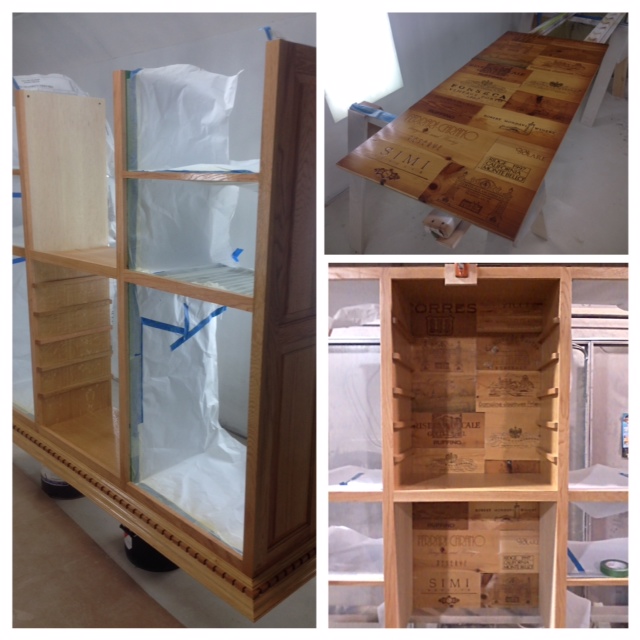
Once you have a steady temperature-control room the rest of these needs are covered with original wooden wine crates and boxes. Wine crates are designed for bottle storage because they're built to keep bottles on their sides, while maintaining darkness and a slightly cooler temperature than if the bottles were held in traditional racks and exposed to light. They also make moving wine much easier because your moving 12 bottles at a time instead of one-by-one with your hands. When your ready to sell your prized wines at a profit you can simply give the full case to the wine appraiser for sale. Not only will the wine be valued for what it is, but the complete collection of wine in it's original crate will fetch more at auction.
Wine investing and collecting can be fun but sometimes it's all about business. The aesthetic quality of a wine cellar is also important too.
Most wine cellars are in basements where the temperature is cooler. This is usually the most cost-effective option. Basements are often not selling points when buying a house. A wine cellar with a bar or entertainment area there takes an unused space and turn it into a huge benefit. The moment your buyer steps into the gorgeous wine room you've built it'll take their breath away...
Wine crates have a vintage appeal that adds a special charm to a wine room or cellar. They captivate the imagination while matching both modern and old world decor styles beautifully. A wine room is never quite complete unless it's adorned with them. The above picture is one of my favorites, and everytime I look at this space I get inspired. That's what a wine cellar or room should do for everyone.
If your looking for original wine boxes crates for your own wine room or cellar decoration visit Winepine
An easy way to keep your flock watered and not have a mess with overturned water containers!
Step 1: Supplies Needed
Here is a list of supplies that you will need for this project. I did add a few pieces to the pipes to make it easy to take apart and clean, but they could be left off to save money and to simplify the project. I will explain each addition throughout the project.
4 BeakTime Watering Cups (purchased through BeakTime.com)
2 foot piece of 1/2 inch PVC pipe
2 foot piece of 2 inch PVC pipe
3 inch piece of 3 inch PVC pipe (I had extra in my scrap pieces from previous projects)
4" X 3" PVC coupling
3" X 2" PVC coupling
4 - 1/2" adapters (male end threaded)
2 - 1/2" threaded caps
2 - 2" cleanout drain plug adapter
2" cleanout drain plug (threaded)
2" trap adapter fitting
2" 90 degree Cross Tee
2 - 2" X 1/2" Bushing
Pipe Joint Compound
PVC Cement
3 gallon or 5 gallon water jug (I chose a 3 gallon)
3 foot 2x6 lumber (I just used some scrap pieces I had)
Total cost of project is around $55.
Step 2: Cut PVC Needed
I used my compound miter saw to cut the PVC used in this project. It give nice, clean edges and is a whole lot easier on the arms. Just remember to keep steady pressure on the pipe and the saw blade and move slowly. WEAR GOGGLES!!! :)
Cut the following pieces
1. 1/2 inch pipe - cut 2 pieces 6" long and 4 pieces 3" long
2. 3 inch pipe - cut a 3 inch section
While you have your saw out, cut the wood needed for the bracket. I cut 2 pieces of 12" long. Also, you need a 6 inch piece, with 45 degree angles on each end to make the support beam. The 6 inch length will be the long length of the board.
The girls are always curious when the tools come out!
Step 3: Put the Tee Together With the Vertical Shaft
First, assemble the tee that will be at the base. Use the PVC cement to put the 2"x1/2" bushings in the left and right side of the tee. Then, cement one of the cleanout adapters to the bottom opening. Use joint compound on the cleanout plug and screw it into the cleanout adapter. Next, connect the 2" pipe to the top opening (using cement). At the top of the 2" pipe, glue the 2" trap adapter fitting on. Set this aside to cure while you work on the horizontal beams.
Step 4: Horizontal Beam Construction
Well, in the hurry of trying to get this together before the kids needed to be run here and there for sports practices, I forgot to take the detailed pictures of the construction of the horizontal beams that I had planned. UGH! We will try to make it with this one picture and a bunch of verbiage.
Start with a 3" piece of 1/2" pipe and glue one of the Beaktime cup couplers. I chose to order the ones with the 1/2" PVC couplers, but they have other ways to add them to your system. This is just the best way for ours.
Next, add the 6 inch piece to the other end of the cup coupler. The next piece will be another cup coupler, followed by another 3" piece of pipe. Make sure to line up the cups so they are straight.
Repeat these steps to construct the other side of the beam. On the outside end of each beam, install the 1/2" adapters and screw on the plug using the joint compound.
Add the other two 1/2" adapters to the bushings on the left and right side of the tee using joint compound. Once those two are in place, cement the left and right side horizontal beam making sure that the cups are lined up and that the cups sit flat so that water doesn't spill out easily.
Step 5: Top Half Construction
Another picture opportunity missed! Sorry! :)
To connect the 4"x3" coupler and the 3"x2" coupler, use the 3" piece of 3" PVC pipe and secure them together with cement. You can use a longer piece to give the top more height, but I think the closer the jug is to the wooden bracket, the less likely you will be to have the jug fall off or be wobbly.
Add a cleanout adapter to the 2" opening of the couplers with glue and allow all the pieces to cure for 2 hours or whatever the recommendations of the pipe cement is that you are using.
Step 6: Bracket for Mounting
You will need to determine where the neck of the water bottle will be on the platform of the bracket. Drill a 3 inch hole at that spot so that the cleanout adapter on the top piece sits easily inside the opening. It will need some room to be able to screw the cleanout adapter onto the trap adapter that sits atop the bottom shaft. I used a jigsaw to cut the opening, however, I would recommend a hole saw if one is available.
Disregard the first hole drawn that has the X in the middle. I chose not to use that one. I decided to push it a little further out so that I had enough room to have the angle support a long as possible. I wanted to make sure that the bracket was strong enough to withstand the weight of the water bottle when it is full.
Screw the top piece to the vertical piece that will attach to the stud or other area that you plan to install the waterer. Next, add the support piece to the bracket with screws. Start your screws in the vertical board so that it is easier to attach once the height is determined for the bracket.
Step 7: Hang the Bracket
To determine the height of the bracket, drop the top section into the hole of the bracket and screw the bottom portion to the top. When the height of the watering cups is determined, mark where the top of the bracket needs to be. Disconnect the top and bottom portions of the waterer and set aside. Mount the bracket securely to the site. I mounted mine to a stud in the run area of our coop. I centered the 2x6 board on the 2x4 and it worked great. I also am installing a 2x4 piece to run behind the water jug to take up the space between the 2x4 stud and the jug. This will also give me a extra place to put eye bolts and use bungee cords to hold the water jug to the stud. (This is not in the picture as of now, but will update the post when I get it done).
Step 8: Finish It Up!
Using joint compound, connect the top and bottom portion snuggly. Check all joints to make sure that are tight and ready for water. Open the top of the jug and insert the neck into the top. Watch for drips and tighten where necessary.
Note: I have found that my chicks like to walk behind the cup beam, sometimes causing the waterer to twist. I will be adding a new bracket with attachment points to keep this from happening. I hasn't caused any problems, other that me having to go out and twist it back into place. Just want to make sure it is safe as can be. I will add this step and pictures once I finish it.
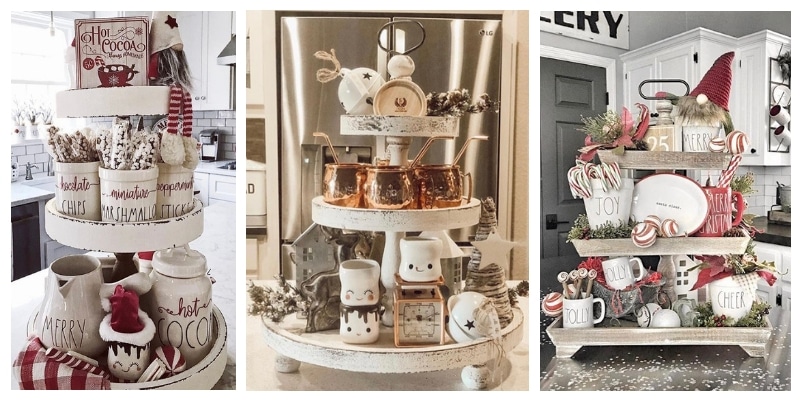
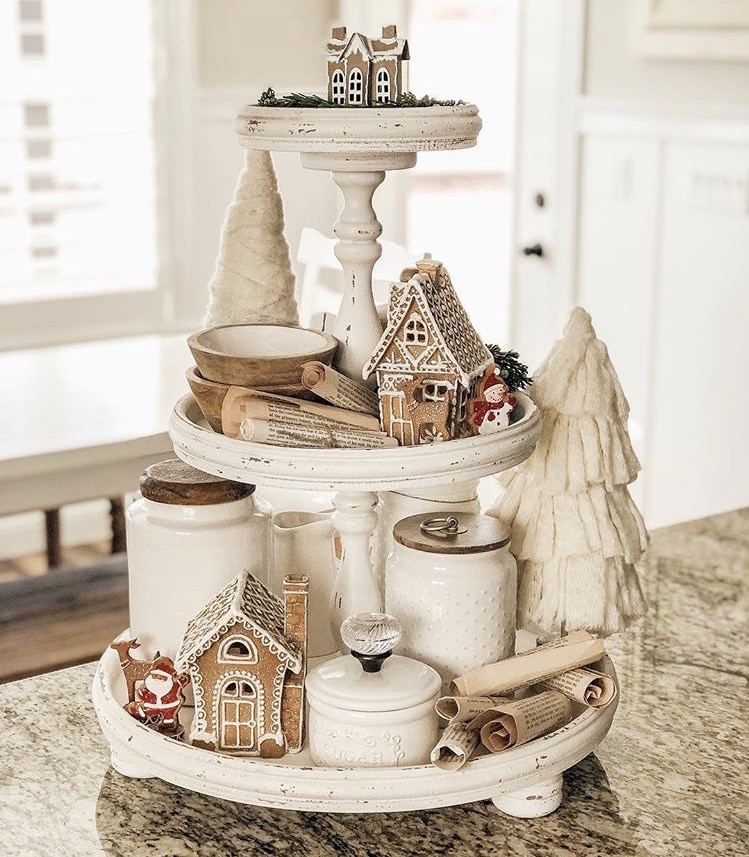
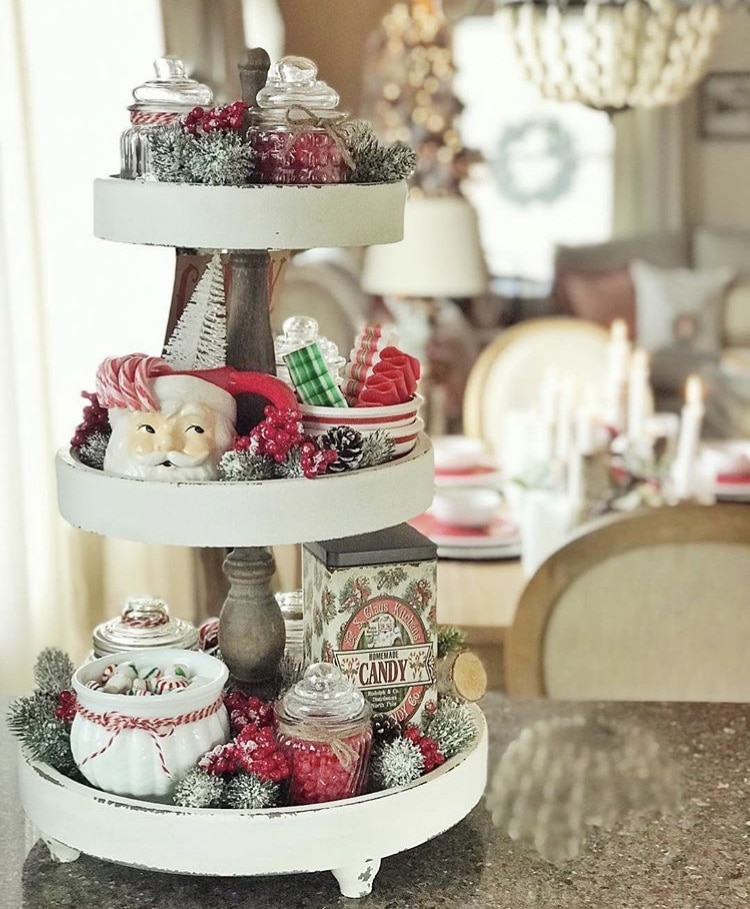
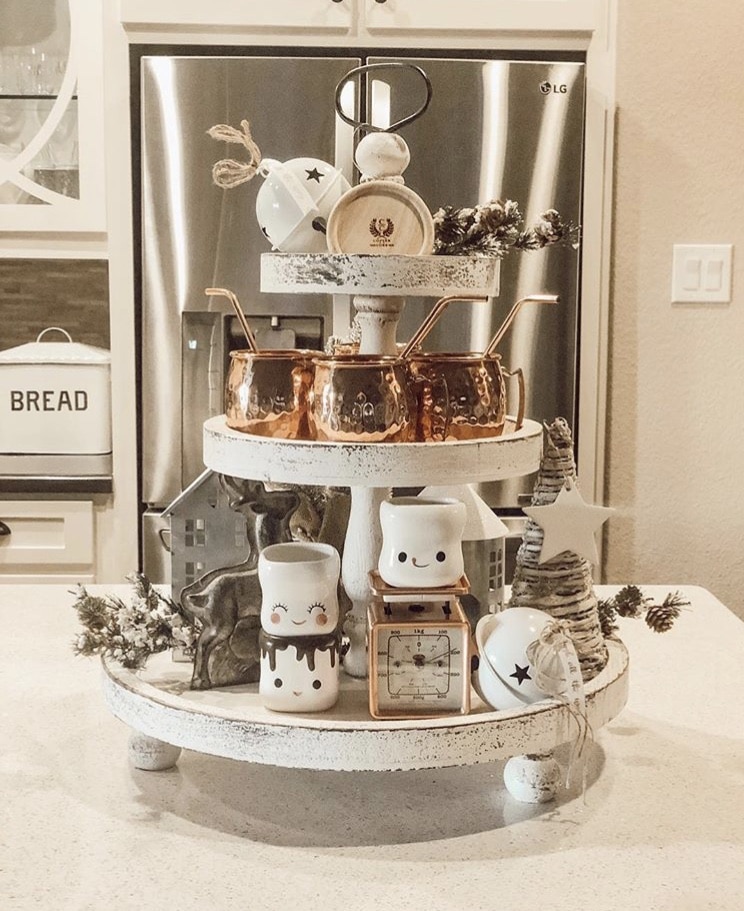
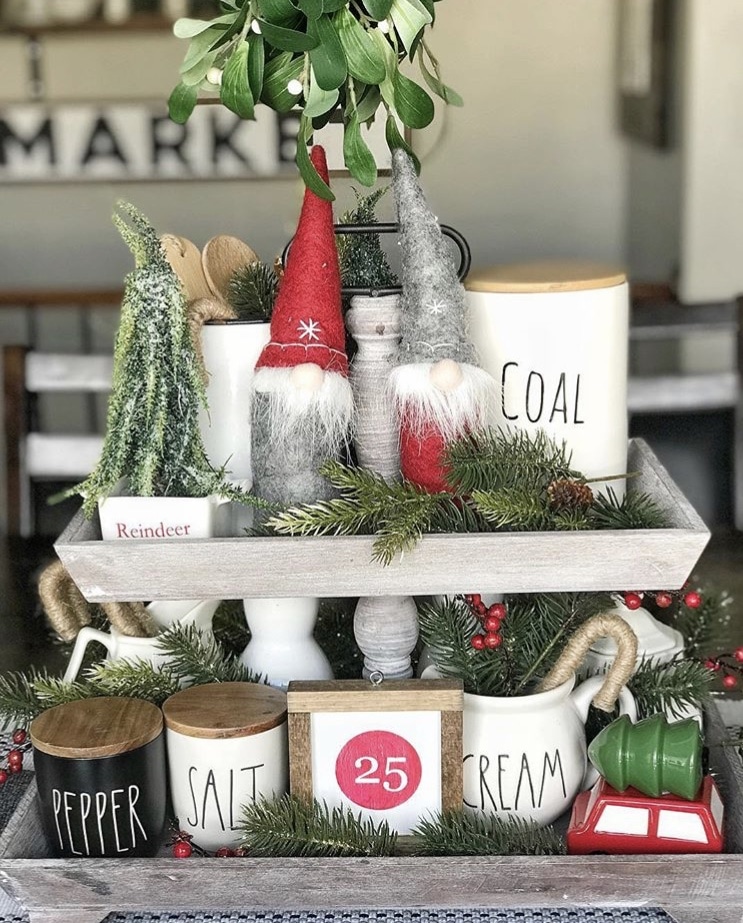
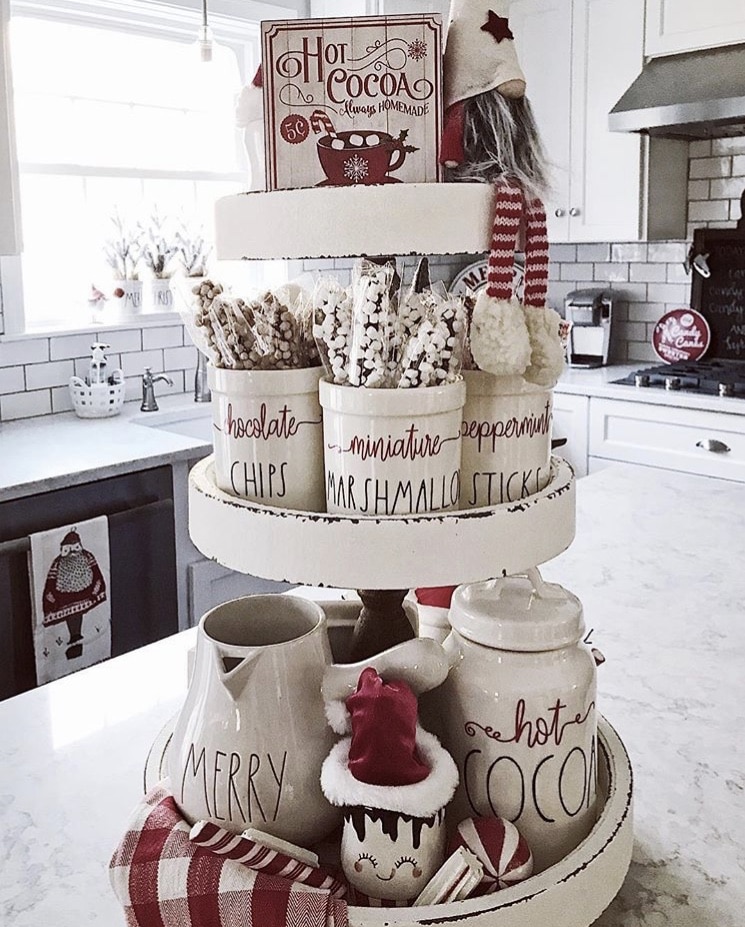
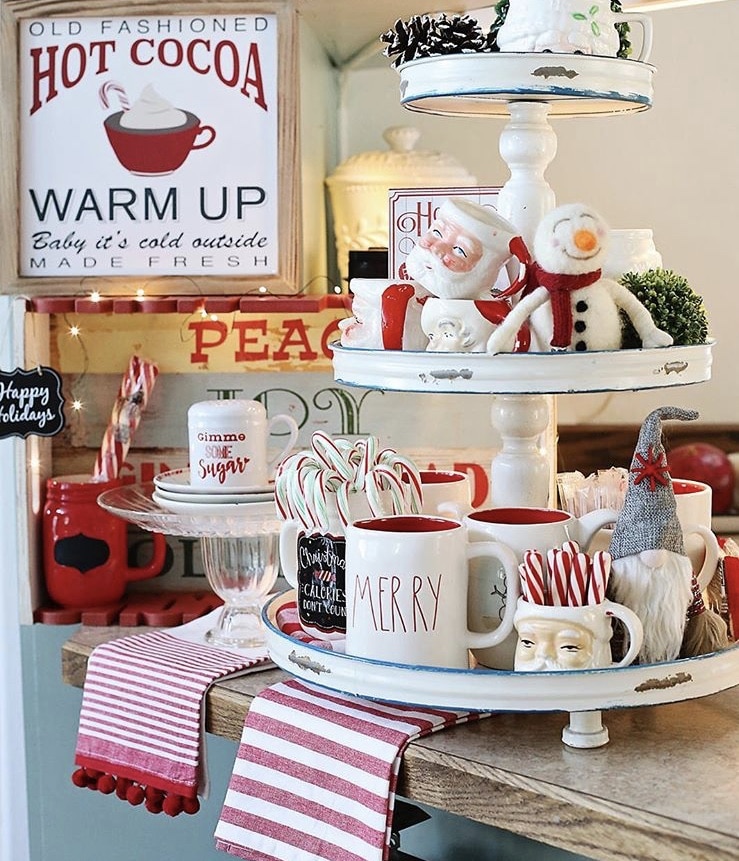
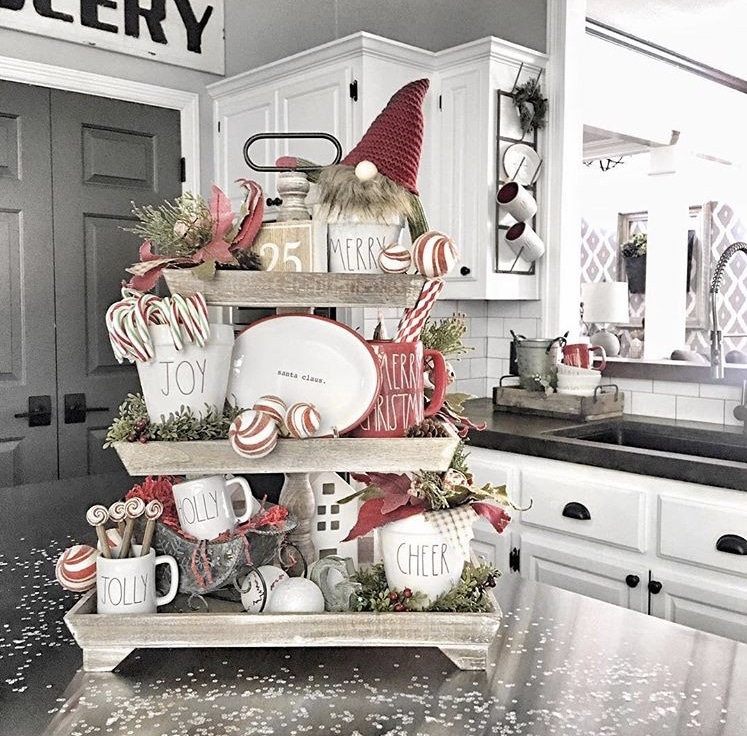
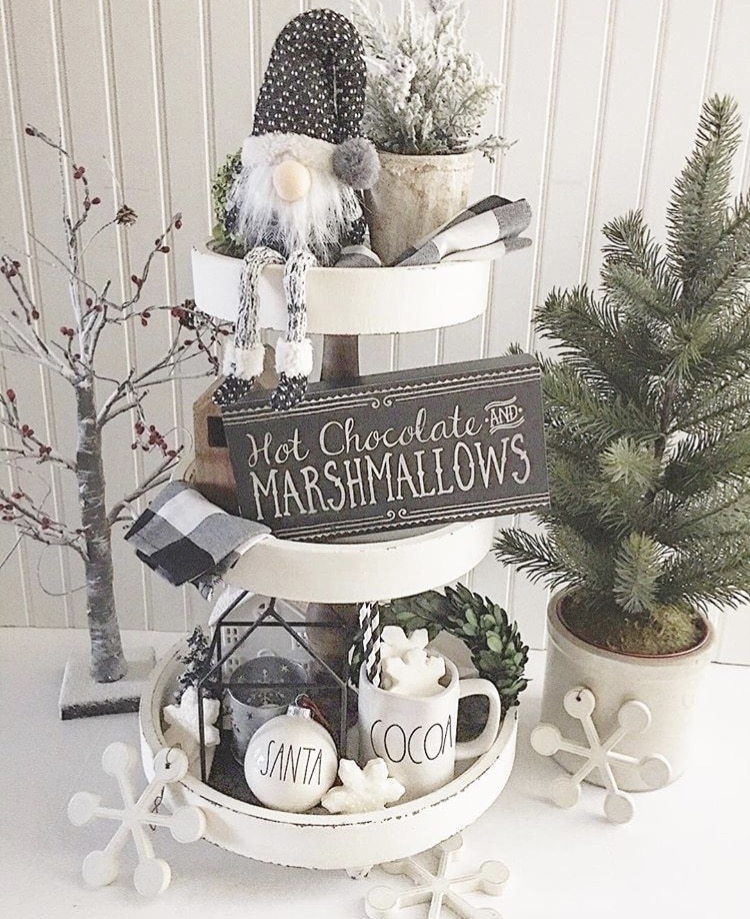
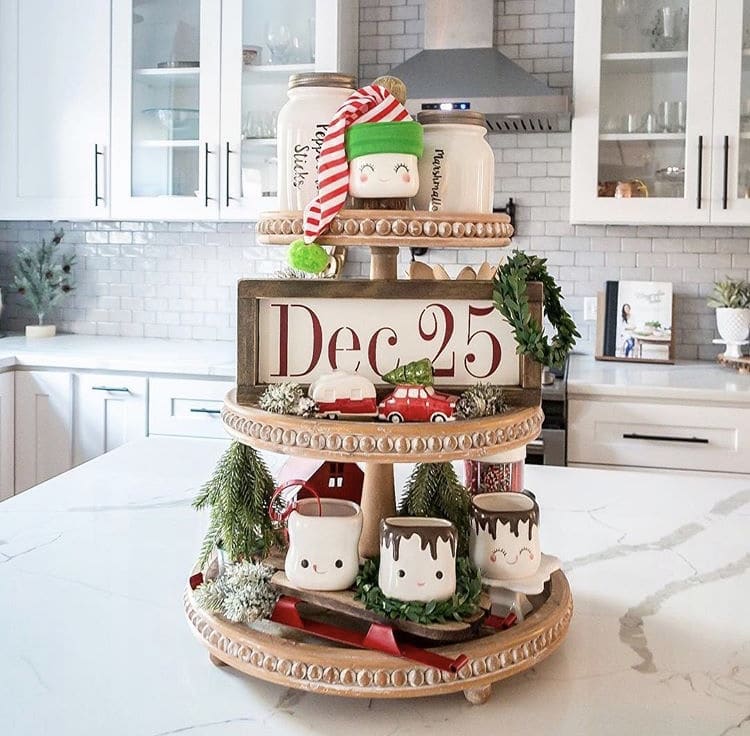
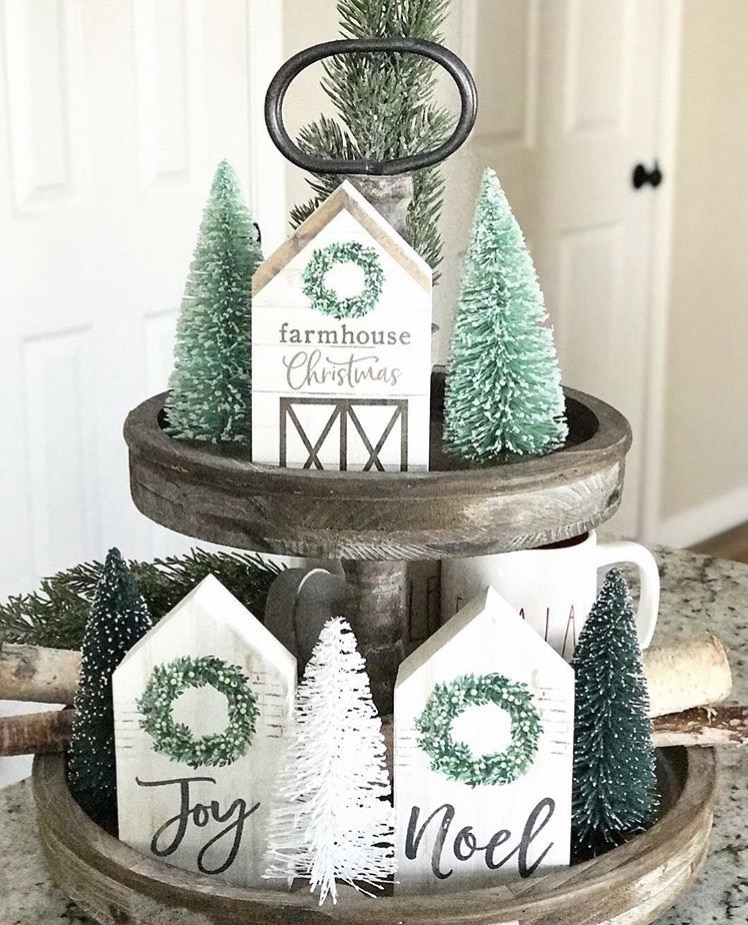
Join us on a tour of Christmas farmhouse tiered trays. They are stunning and allow you to feature some fun characters. If you don’t already have a tiered tray, this post might leave you adding one to your Christmas list!
Christmas Farmhouse Tiered Tray
There is no limit to what you can display on your farmhouse tiered tray. At Christmas time that doesn’t change.
Rae Dunn pieces are popular on tiered trays, as well as gnomes, Santa, and cute marshmallow mugs.
This post contains affiliate links, which means I receive a commission if you make a purchase using the links below. All opinions are all my own.
The first year living on our off grid property we didn’t plan on having a garden because we simply had too many other more important projects. That said, because we do want a garden in the near future, we figured that we should start composting now! In this post we want to go over composting 101 which is how to start a compost pile… you know, the simple way!
Starting a compost pile is so simple yet for me, it was a little intimidating because there is simply too much information on the subject! In the end, I decided to not even try to aim for perfection but to simply get started, and I’m happy I did.
Six months later, and we already have a lovely heap of compost, although small, and this fall we spent some time gathering even more organic matter for our pile. As with anything, it seems to get easier and more obvious over time, which I’m extremely happy to report.
Here are the basics of what our composting experience looks like so far.
Decide on a Compost Bin
In all honesty, Mother Nature doesn’t use any type of compost bin… organic matter simply falls on the ground to deteriorate, and it all works out!
That said, we chose to have some sort of bin to keep things feeling contained, and also to be able to build the pile up fairly deep.
We chose to go with a diy compost bin out of reclaimed pallets. This was extremely low-tech… it doesn’t even have a fourth side! This is because we wanted to be able to get in to turn the pile on occasion. So far, this approach is working for us.
There are a number of compost bin plans out there, but if you want to buy one, many like to go the route of the tumbling compost bin. In all honesty, this type of bin is probably a bit small for our property since we want to compost in large quantities, but it’d be perfect for the urban homesteader that really wants to keep things tidy and doesn’t predict having a ton of yard waste!
How to Start a Compost Pile – Add Organic Material
This is the hard part… you ready? All you need to do is add material to the compost pile! In a nutshell, you need to add carbon and nitrogen in somewhat equal amounts or in other words, “brown” stuff and “green” stuff.
Add Carbon
Carbon is stuff that’s typically dry, which is why it’s referred to as brown material. This may be the easiest material to come by in bulk, especially if have property or live in a rural area.
Brown stuff includes dead leaves, paper, cardboard, straw, hay, pine needles and even sawdust. If you don’t have this on your own property, it should be fairly easy to come by. Leaves are easy to collect in fall, if you’re lucky you can pick up as many bags as you can handle curbside, and people are trying to get rid of things like rotting hay or straw all of the time. Pick it up!
Nitrogen is stuff that’s moist for the most part, which is why it’s referred to as green material. This seems to be harder for us to come by, but it may be different for you.
Green stuff includes lawn clippings (try to get these pesticide and herbicide free if you can), food waste, coffee grounds, plant trimmings and even manure. Manure if a great way to get a pile hot but it’s not something we’ve experimented with yet.
In the end, don’t stress too much! Just add what you have! If the pile seems too dry then add some green stuff. If the pile seems too wet and it starting to get slimy or smelly, try to find some brown stuff to add. Easy peasy.
Compost Pile Maintenance
Maintaining a compost pile is ridiculously easy. In fact, you really don’t need to do much to it at all as all things decompose with time, but there are a few things you can do if you want to speed up the composting process.
Keep the Pile Moist
If you want your composting process to happen as quickly as possible, it would be wise to keep the pile moist. If you live in an area with rain, you might be set!
For us, because we’re off grid and have limited access to water, we didn’t do a very good job keeping our pile moist. We did try to dump our sink water on the pile when we remembered or weren’t feeling lazy which helped, but some suggest giving the pile a good hose down on occasion to keep it moist.
Rotate or Churn the Pile
A compost pile does need oxygen to compost and churning the pile every once in a while will stir things up and add in oxygen to the mix.
We chose to turn ours over with a shovel once a month or so but you can do it as frequently as every couple of weeks.
A popular method is to take a compost aerator and stick it deep into the pile to do the churning for you. Some swear by this and claim that it’s a lot less work than going through the entire pile with a shovel… but we have yet to try it.
The other option is to buy a compost tumbler where you can turn the pile by simply turning a handle. Again, this is a great option for someone who only wants to compost on a small scale or is in an urban setting!
Keep the Pile Hot
Have you ever driven by a field with a heap of cow manure in it on a cold day and seen the pile steaming? This is because the microbial activity in the decomposition process puts off a lot of heat… and manure especially can really heat up a compost pile!
One way to build heat in a compost pile is to make the pile big enough. A cubic yard is a good size to aim for. Ours was tiny this year so every time I’d stick my hand in the middle of it, it felt cool, but like I said, we still had finished compost in six months.
If you’re curious as to what the temperature is in your compost pile, you can try using a compost thermometer. We don’t feel the need for one yet, but you may want one if you’re uber scientifically-curious!
When is the compost finished?
The compost is finished when it looks a lot like dirt. Our small pile took about six months to fully compost and that was with taking poor care of the pile.
At that time, it’s best to add it to your garden soil.
For us, the garden isn’t ready yet, so I read that it can be good to tarp it or even store it in a garbage can as excess water can wash away some of the nutrients. I may do this before winter sets in.
Taking it Further With Worm Composting
Another way to compost, or a way to simply enhance your exist compost, is to use worms. Here is a worm composting kit that can be good to start with… you only need to add worms to get going!
When we were buying our water tank from a guy off Craigslist, we discovered that he had a large worm composting farm and he offered up a bucket of red wigglers to us! Of course, we said yes!
We keep these in a double bucket system… one bucket (holes in the bottom) with worms and organic matter in it and another bin to catch any moisture or liquid from the worm bin. This is also known as “worm tea“. This tea is great to pour into the garden. Worm poo, also known as worm castings, are also a great organic addition to the soil.
The guy that gave us the worms told us that red wigglers double their population in 90 days. At this point, we should have A LOT more worms than we started with, but it’s hard to tell for sure as the bucket seems to be filling up with castings very slowly.
Putting the worms into the compost can help speed up the composting process – that’s what my sister does in Southern California! I would think that tossing them on a dry pile though may not be their favorite thing, so I’d personally wait until the pile is decomposing and is somewhat dirt-like.
Having a Kitchen Compost Bin
Another thing you can do to help grow your pile is to have a small kitchen compost bin on your counter. This isn’t where you want the composting to take place, but you do want a non-smelly way to toss your fruit and veggie scraps until you’re ready to take them to the compost pile.
Kitchen compost bins have an air tight lid and carbon filters to control odor. We don’t have one of these because we don’t have a single inch of counter space (or even cupboard space) in our travel trailer… but we’ll be getting one for the house! Right now, I actually throw a decent amount of food scraps away because it’s time consuming to go out to the compost pile with tiny batches.
Composting 101: Recommended Reading
There is A LOT more to know about composting if you want to further your education. We feel that we’ve learned enough to get started but we do plan on investing in our education further when the time comes. We’re on the wait list for the Master Garderners program which is a place to start, but having books on the subject would be nice as well.
Let It Rot! The Gardener’s Guide to Composting
The Complete Compost Gardening Guide
This book is similar to the one above but goes into even more depth and covers a wider variety of topics. It also has lots of beautiful photos and is well-designed overall. In this book you can also find information on vermicomoposting, or using worms for compost.
Building Soil: A Down-To-Earth Approach
This book is great for learning how to strengthen soil and build the foundation for a thriving garden overall… composting is just one component of good soil!
The Suburban Micro-Farm
This book covers not only various easy-to-understand composting methods but also is a great general gardening book for beginners.
Tips & Tricks of How to Get Free Compost Materials
If you’re like us, even if you have property, you don’t have an abundant amount of compost-able material. We have five acres and what to compost isn’t obvious!
That said, we’ve scored some ways to get free compost materials with a little ingenuity… we’re happy to share what those are!
Wrapping It Up
And that’s all there is to it… for us at least! Again, I’m sure there are ways to improve on your compost pile with time but it doesn’t have to be complicated to get started. We’re happy we stopped stressing and took action – and we are rewarded already with a rich, beautiful compost pile.
Get Involved!
What is your experience with composting? Do you find that you learn a lot overtime or do you realize overtime that it really is straightforward and simple? What tips and tricks do you have that you can share on composting? As always, we love to hear your feedback!
Did you enjoy this post? If so, help us produce more of them! We put a lot of work into bringing you the best content possible. Learn how you can support our blog here, without spending a dime!
With Owen, we used his dresser as his changing table. We’re using the same dresser/changing table set up in Emmett’s nursery (still under construction), but we added a changing table into the mix with baby #2.
In our old house, the living room, where we spent most of our time, was in the middle of our house with our master bedroom to the right and Owen’s nursery to the left. So when Owen was a newborn, we only had to walk all of 10-12 steps to his nursery to change his diaper 10+ times a day or change his spit-up-on clothes.
Now that we live in a two-story house, we wanted to set up a changing table on our main floor so we wouldn’t have to go up and down the stairs 10+ times a day while carrying a newborn (and this kid needs his diaper changed more like 14+ times a day). This was especially important for me in the weeks following giving birth when I was encouraged to take it easy.
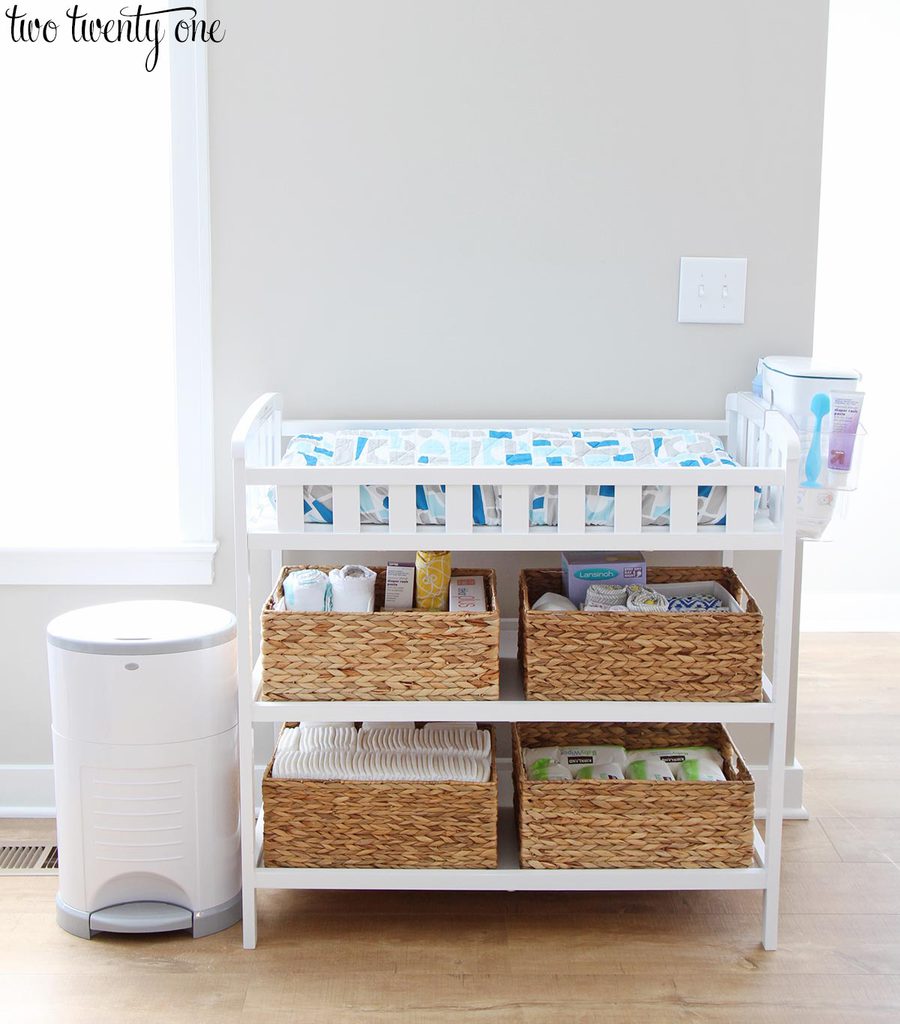
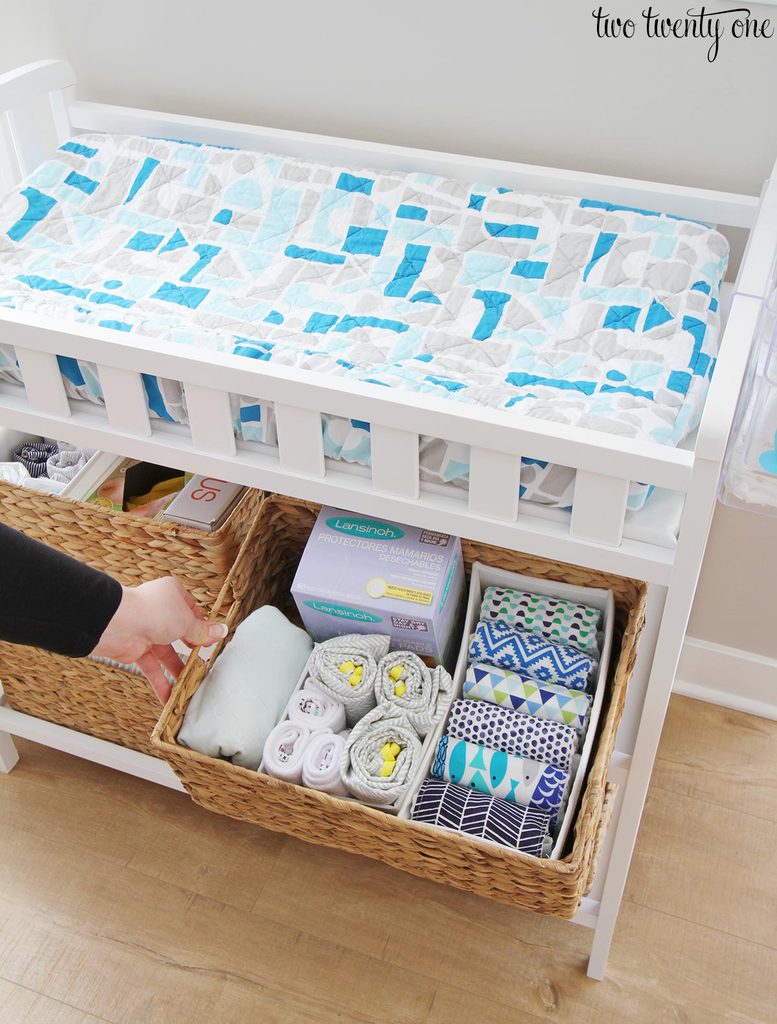
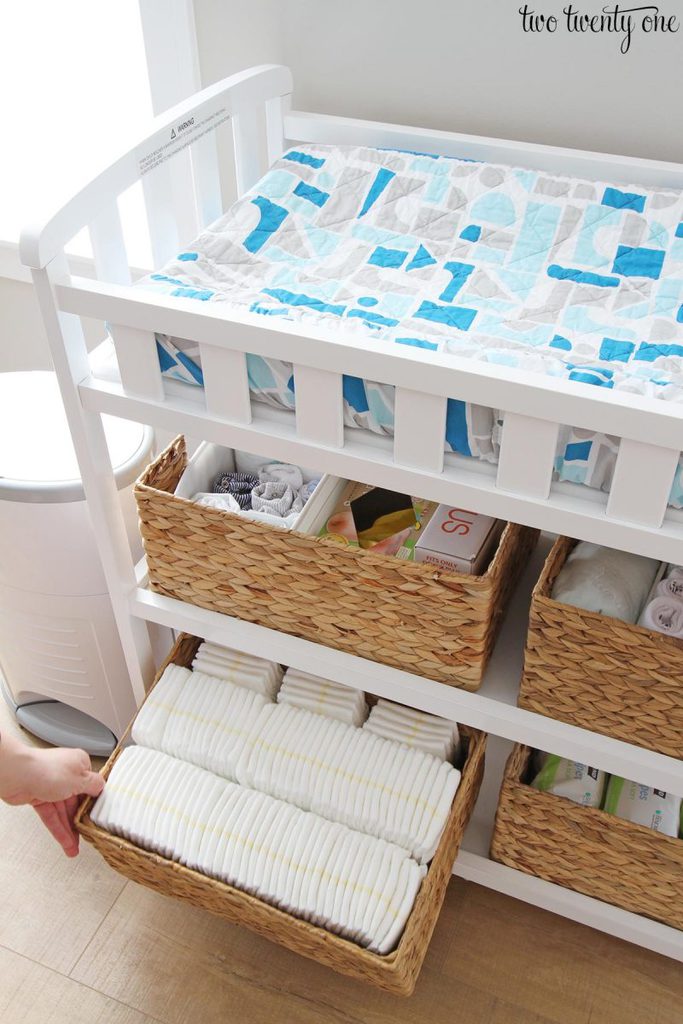
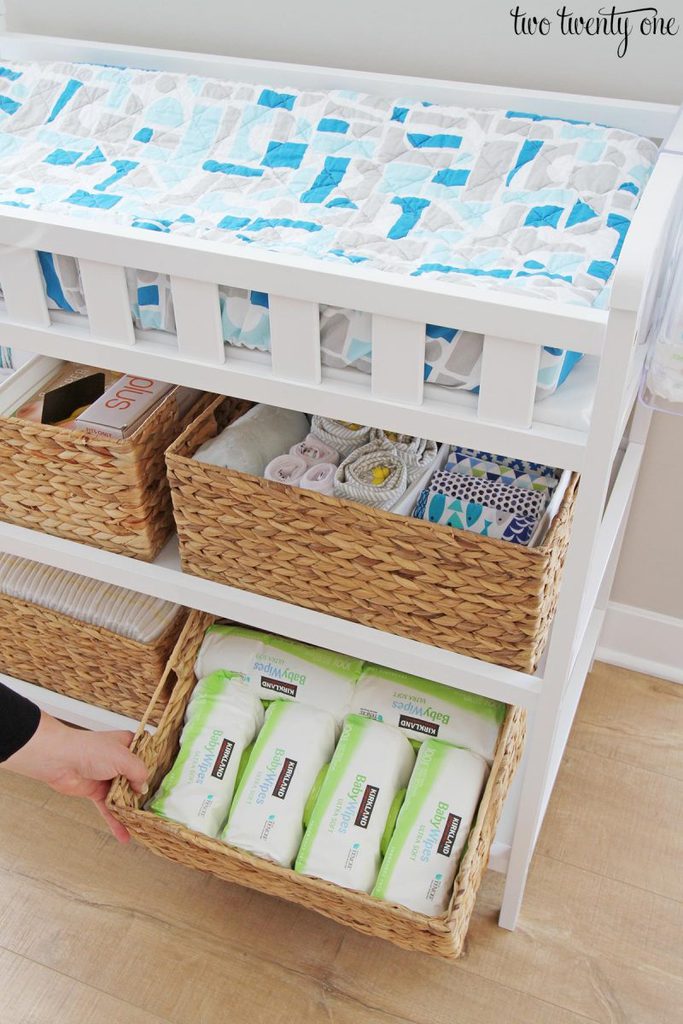
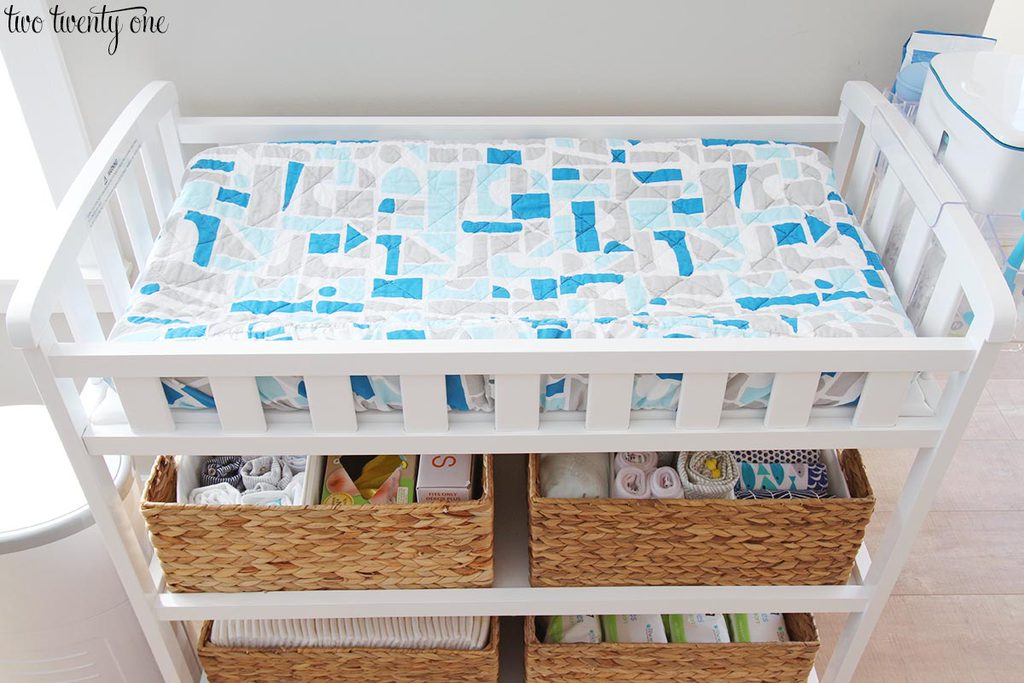
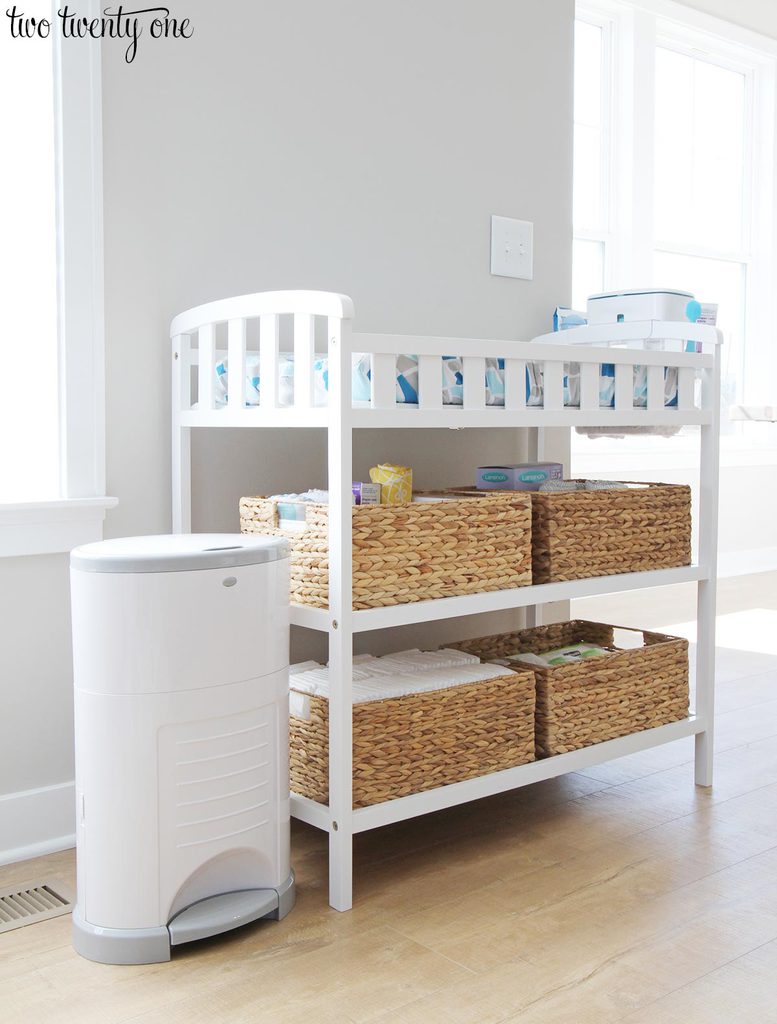
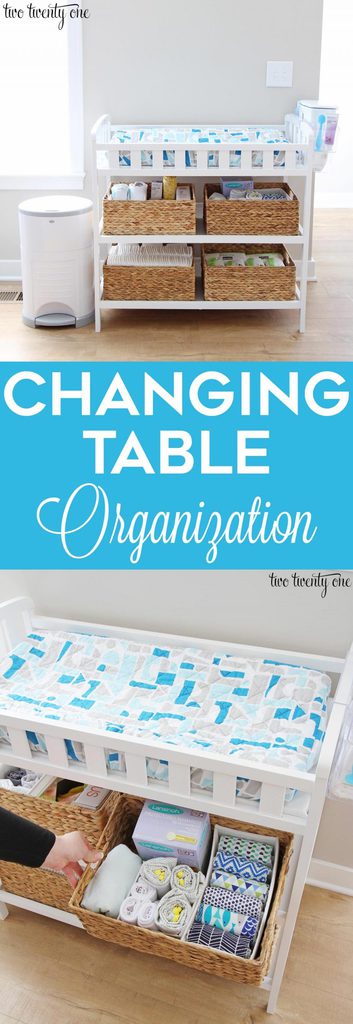
Since I didn’t want to drop a ton of money, I got this changing table for less than $60 and four baskets at Marshalls. I figured we can sell or donate the changing table once we’re done with it.
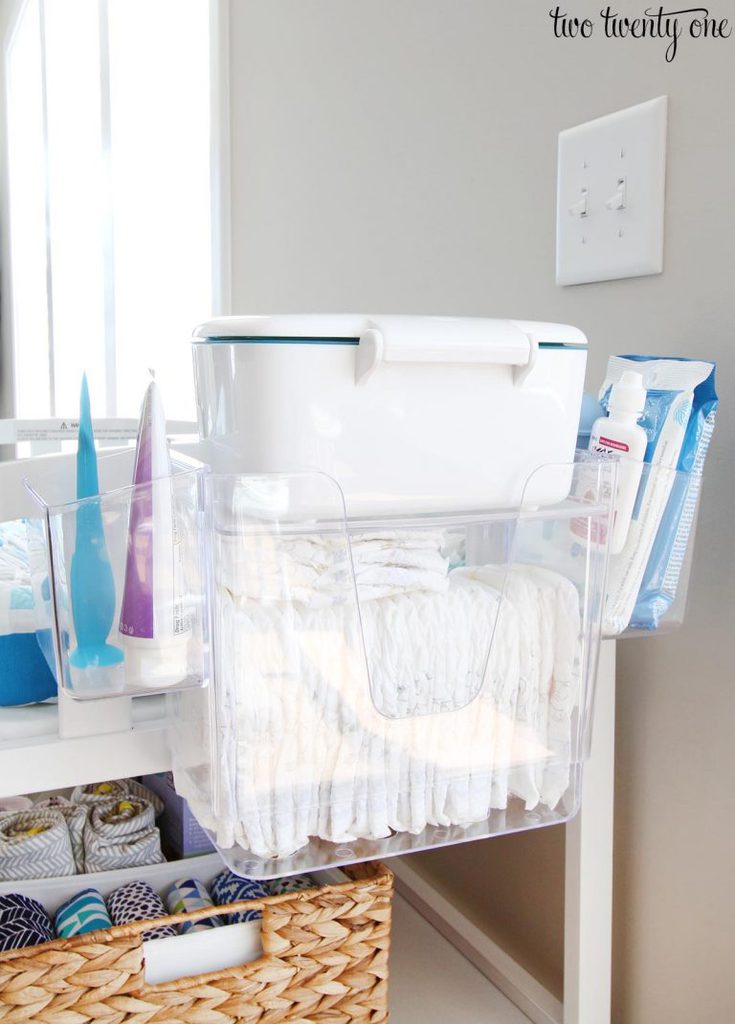
The diaper caddy hooks onto the side of the changing table. It slides around a little bit, but it’s never fallen off.
The changing table comes with a pad, but I like how a contoured changing pad keeps babies more contained. And this one was only $14. I scored the changing pad cover from Land of Nod (now Crate & Kids) when it was on clearance for $6, so unfortunately, it’s no longer available.
My parents gifted us this diaper pail. We really like it so far. No smells can be smelled. But then again, newborn diapers don’t really smell anyway. Plus, when Emmett starts on solids we’ll do what we did with Owen’s #2 diapers– put them in a diaper bag and take it out to the big garbage can in the garage.
We love having this changing table on our main floor. I like how I can still keep an eye on Owen while he’s playing or eating breakfast or lunch if I need to change Emmett. And it’s been nice not having to go up and down the stairs numerous times a day.